Journey Map Kit
I built a tool that helps you streamline the creation of your next Journey Map.
Challenge
My role
Having frequently created journey maps on my past project, I realized that the design and development of the artifact, a crucial tool in user experience design, often encounter challenges such as time-consuming setup, difficulties in collaboration between cross-functional teams, and inconsistencies in visual representation. These hurdles can hinder the efficiency and effectiveness of communicating user experiences, especially in multidisciplinary environments involving users unfamiliar with journey maps.
As the sole creator of the Journey Map Kit (JM Kit), I drew inspiration from my past experiences and challenges in journey mapping. I focused on creating a resource that would streamline the journey mapping process, enhance collaborative efforts, and ensure visual consistency. Throughout the development, I was responsible for designing pre-built components, integrating a cohesive design system, and customizing the kit to be versatile for various user needs. I also conducted testing and gathered feedback by engaging with my colleagues and refining the kit based on their insights.
2k people have already used the tool!
The Journey Map Kit announcement was the most successful article on Method Social Media in the past year, with an engagement rate of 14.96%.
The kit has been used internally numerous times, streamlining Method's design processes.
What is the JM Kit?
The Journey Map Kit (JM Kit) is a Figma Community tool that provides you with everything you need to create highly detailed journey maps quickly and efficiently while allowing you to customize the output to your specific needs.
With the Journey Map Kit, you can quickly and easily create highly detailed journey maps that effectively communicate experiences. Here are some of the key benefits:
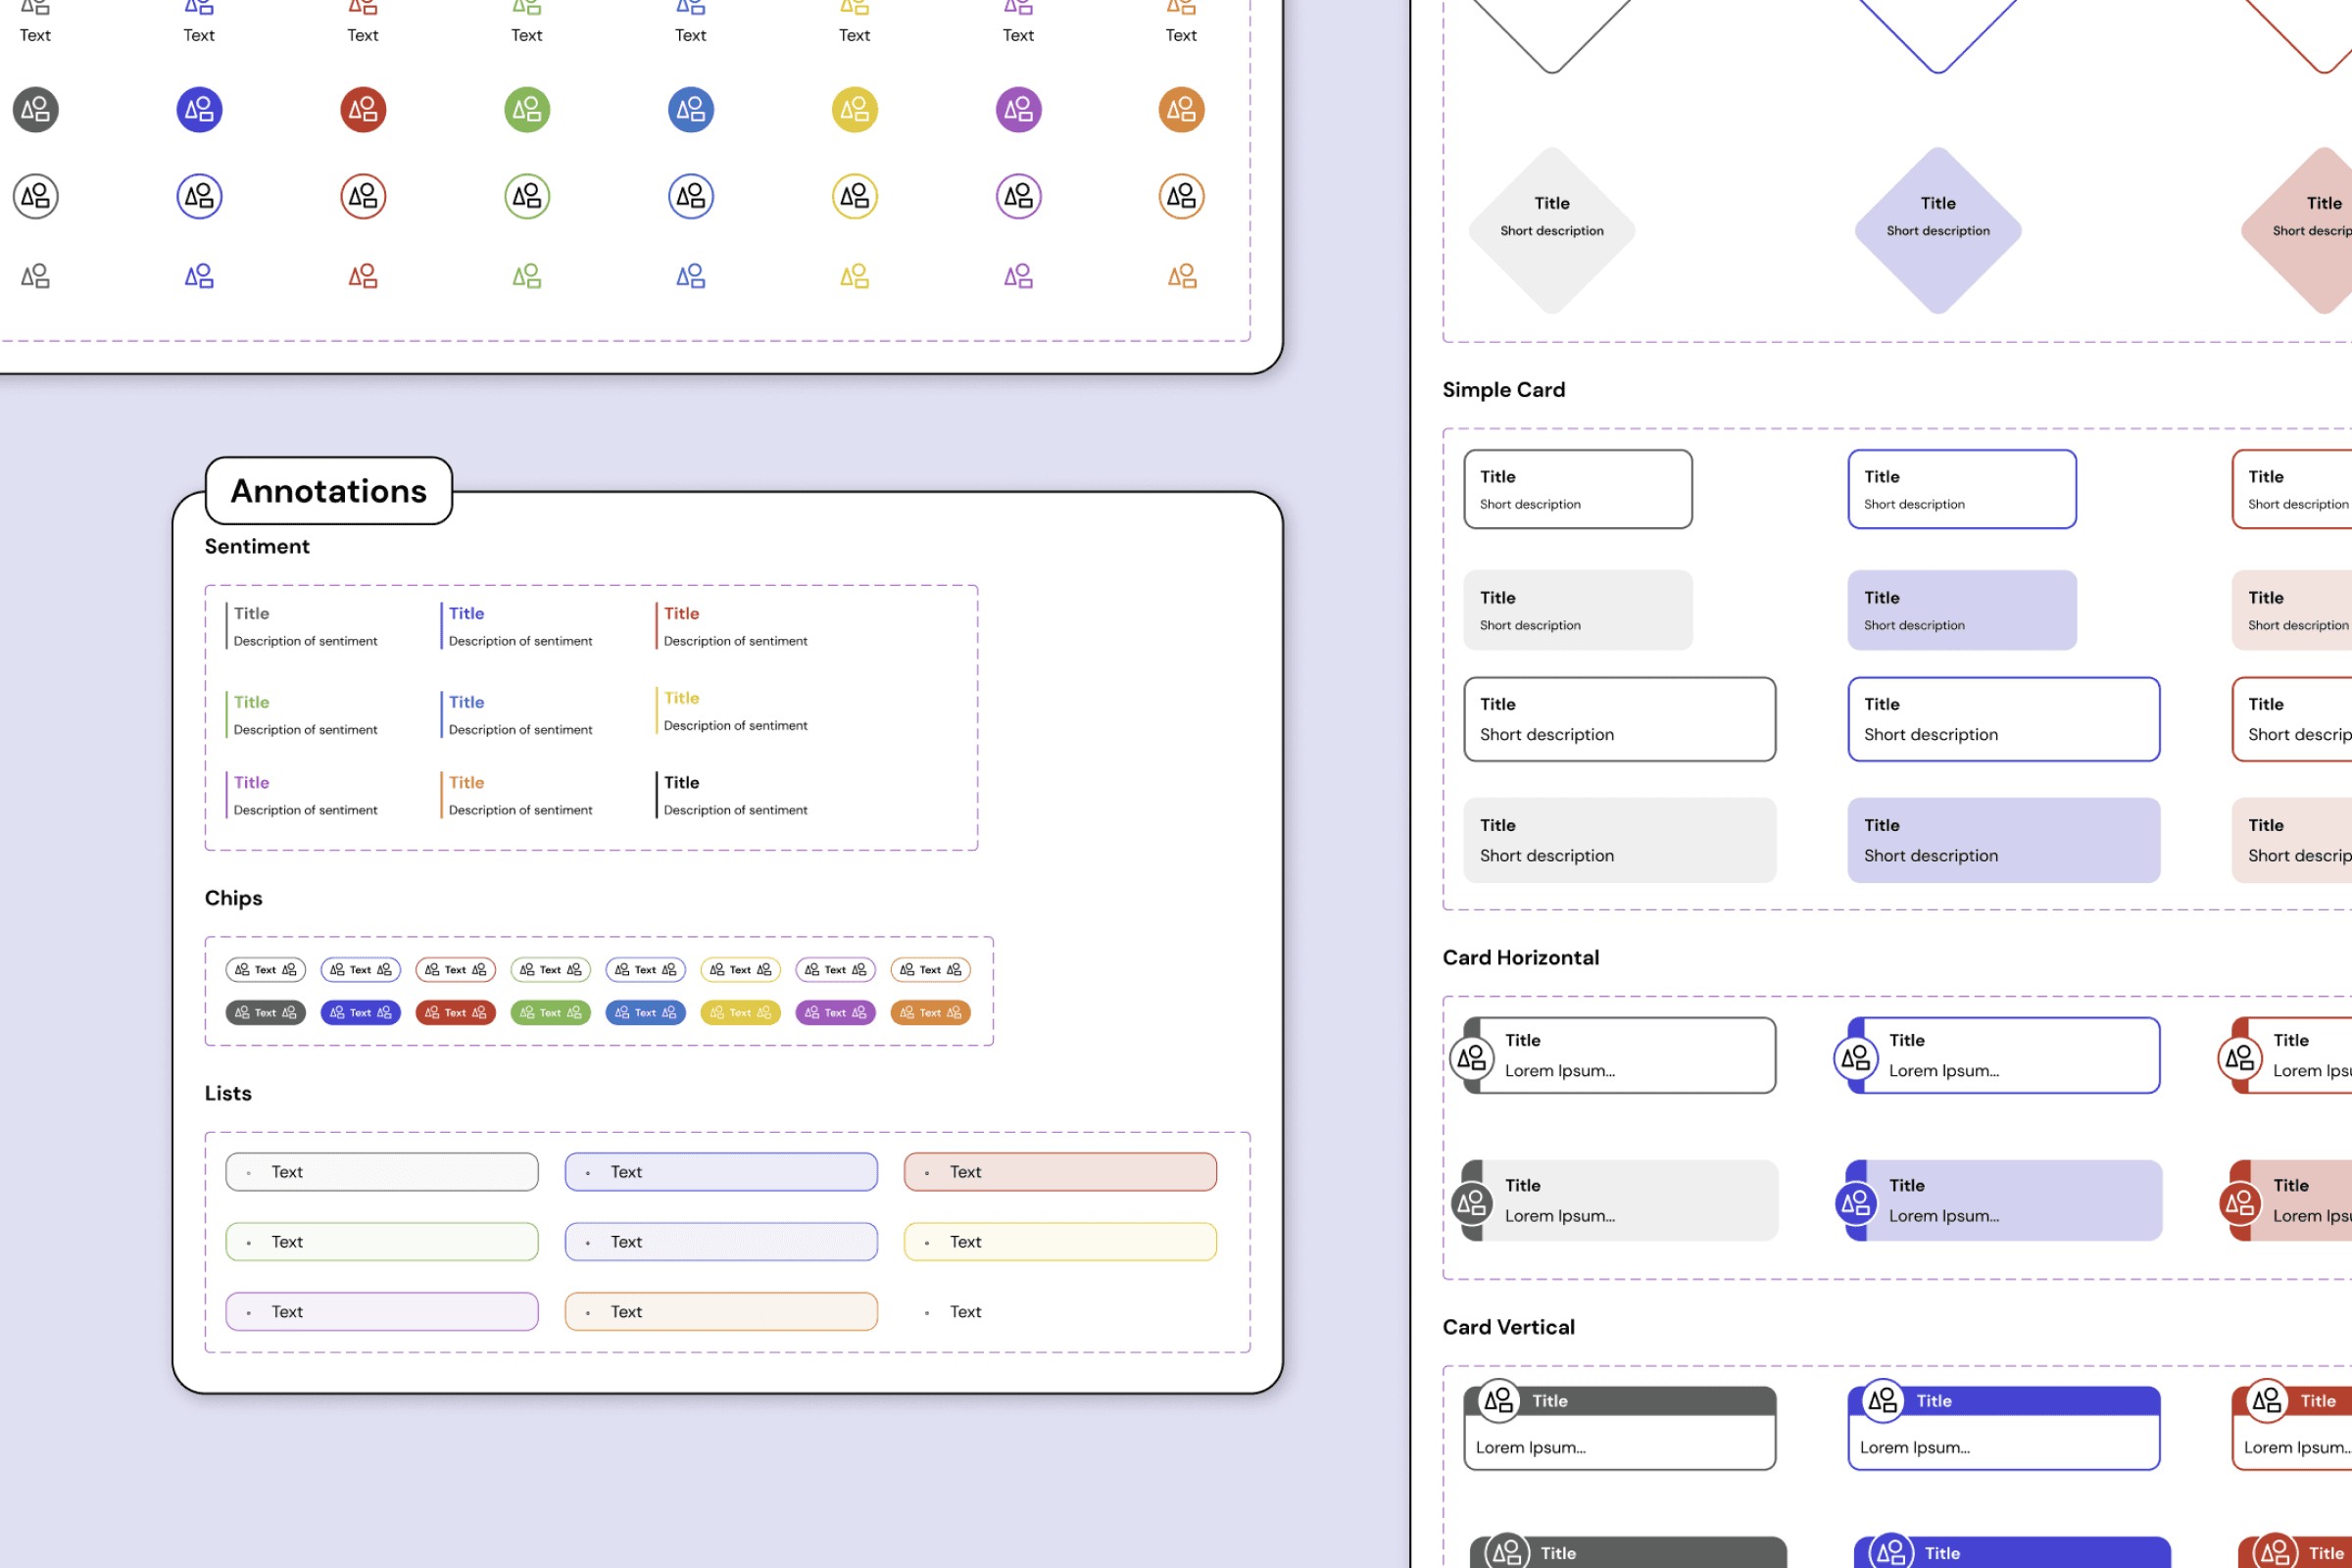
Accelerate your workflow with pre-built components that simplify the initial setup.
Foster collaboration and communication between cross-functional teams, including designers and non-designers, by providing a shared language and visual system.
Maintain consistency and reduce the risk of visual chaos by utilizing a cohesive design system that guides your work.
Easily customize the kit to your specific needs and requirements, saving time and effort.
Get inspired with Journey Map examples that showcase the potential of this powerful tool.
Creating the Journey Map Kit
The most formidable task in developing the Journey Map Kit was deciding what to incorporate and exclude. I aimed to make this tool usable for Figma experts and creators with varying levels of Figma proficiency alike. Simultaneously, I did not intend to create a one-size-fits-all template. In my line of work, I do not subscribe to the idea of ready-made, out-of-the-box solutions. From my experience, there is always a need for an individualized approach and project-specific customization. Therefore, I chose to begin by addressing the most fundamental challenges that me and my colleagues face regularly:
Simplifying the initial setup through pre-defined components.
Facilitating fast and efficient mapping with cross-functional teams, encompassing designers and non-designers.
Reducing the likelihood of visual clutter through a consistent visual system.
Offering easily customizable components to tailor the final output to your specific needs
Having established the system, I started stress-testing the kit by creating example journey maps. Those test maps evolved into examples I share in the kit to inspire others.
The challenge of the Journey Map Kit
Visual direction: an extra layer of fun
I enjoy working on journey maps. I have always found the process of aligning on an approach, exploring different directions, and overcoming challenges… exciting. Usually, the alignment takes place early in the project, when there is a lot of ambiguity and unknowns, which is thrilling. I wanted these joyous, exciting, and exploratory journey-mapping characteristics to find reflection in how this tool looks and feels.
Having anticipated that the JM Kit would be used internally within Method, I decided to make our lives easier by utilizing Method's default font, DM Sans. Its geometric sans-serif design works well with smaller fonts, and as one of Google's fonts, it is accessible to all potential users.
The color palette was inspired by the traditional range of colors used in journey mapping within the discipline. Nevertheless, I introduced three accent colors to add "pop" to the tool's color range. Once again, the Navy color is based on Method's brand color.
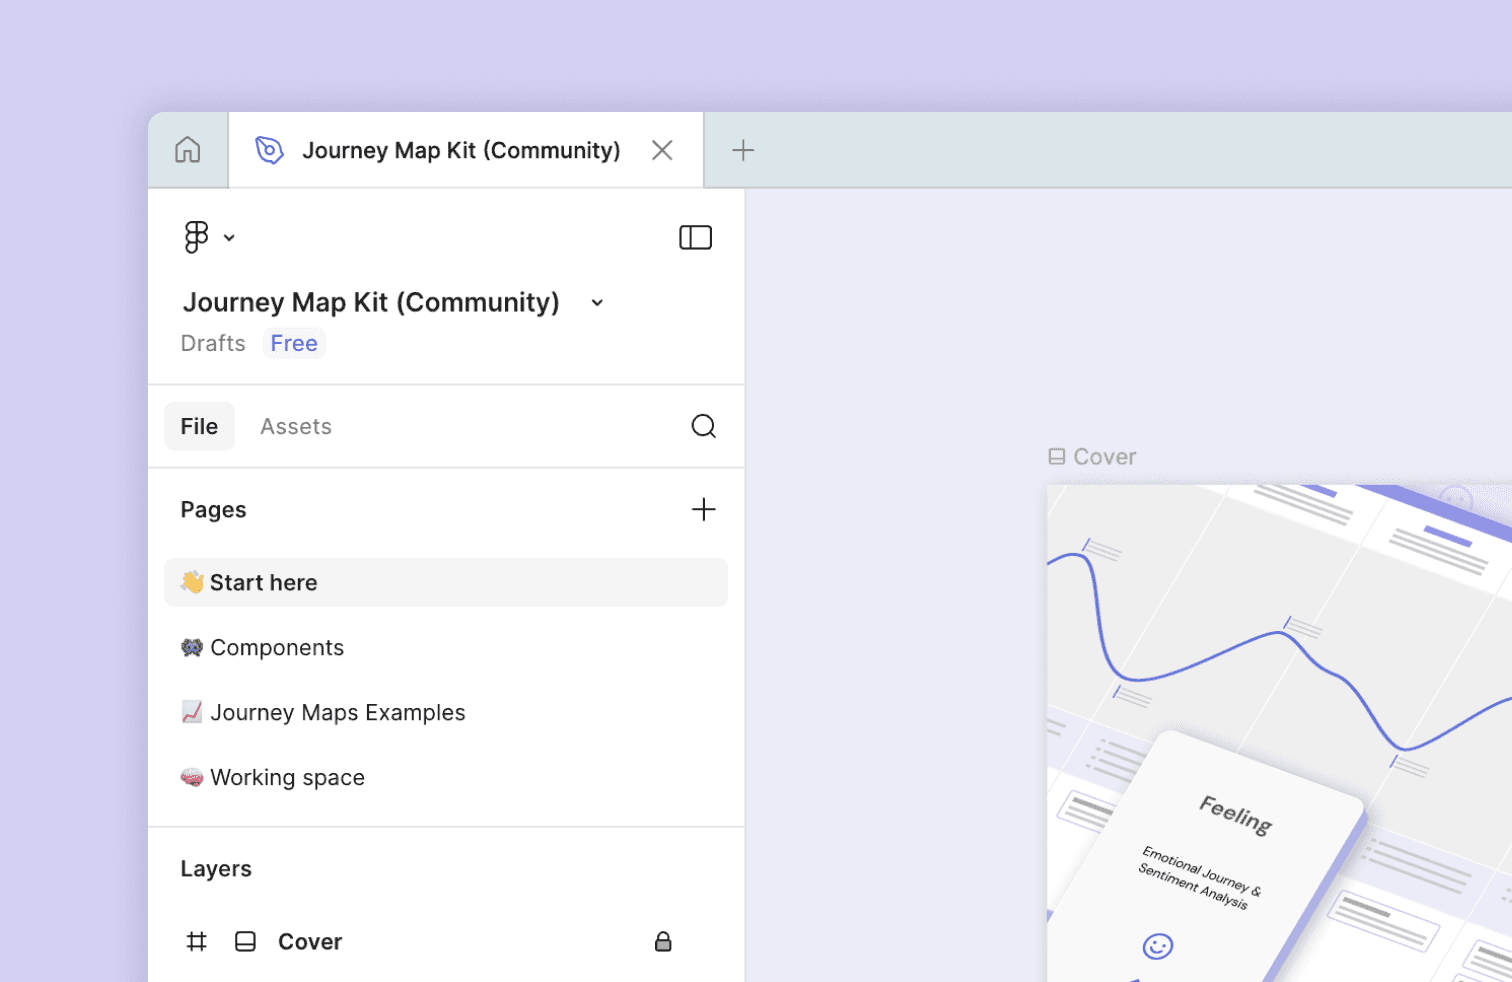
Working with a new tool always poses a challenge. Having explored several approaches to the introduction and settled on this simple map that provides a brief overview of all the pages and high-level capacities.
Starting with a blank page is the hardest part for many researchers and designers. To overcome this obstacle, I created an "inspirations" space with pre-built blocks that can be a starting point for any journey map design.
The 'Working Space' page within the JM Kit is dedicated to building one's journey. It provides a visual overview of all available assets the too offers and empowers less proficient users to drag and drop different elements to support their journey mapping efforts.
Story behind the Journey Map Kit
Working with Journey Maps
Working on my past projects, I frequently created various journey maps. I sometimes constructed complex, multi-layered interactive artifacts that impressed and excited our clients. On other occasions, I introduced simple journey maps as a framework to organize workshops or to serve as visual aids during research. Time and time again, journey maps—whether customer journeys, experience maps, or smaller user stories—proved valuable tools at every project stage.
Alignment
Alignment of mental models and introduction of shared understanding of the process.
Communication of knowledge to others fosters cross-functional collaboration.
Facilitation of conversations, encouraging insights and ideas from diverse perspectives.
Discovery & documentation
Creating a shared repository of accumulated knowledge for easy access and reference.
Ensuring consistency of documentation, promoting clarity, and reducing misunderstandings.
Recognizing knowledge gaps and moments of friction.
Empathy
Adjusting our thinking to empathize with the user, considering their emotions, motivations, and pain points.
Utilizing storytelling to create compelling narratives that bring the customer experience to life.
Focusing on key touch-points and interactions that have the most significant impact on an experience.
Miro's explorations of a journey map direction for one of the past projects.
The diagrammatic journey used as a prompt during research.
A journey map used as a framework during a client workshop in Tokyo.
Discovering a need for the Journey Map Kit
After building a substantial number of journey maps, I realized that several challenges often repeated themselves in my previous projects:
Journey Maps' requirements evolve during a project: Reality often challenges our initial assumptions, necessitating adjustments to the format as the project progresses.
Journey Maps can become chaotic rapidly, especially when using whiteboarding tools like Miro or FigJam. To prevent drowning in a sea of insights, it's crucial to establish structure in journey mapping efforts early on.
As more individuals become involved in creating a journey map, maintaining consistency becomes increasingly challenging. Therefore, upfront work is essential to ensure the team's success.
While essential, the initial project setup can be time-consuming. Finding the necessary hours amid a project's demands can be challenging. Thus, there is a pressing need to streamline this process.
Journey maps I created across different projects that inspired the Journey Map Kit
Next-Level Journey Mapping: Introducing Interactivity
In my journey mapping endeavors, I encountered several design challenges that pushed me to think creatively. Here are a few examples:
One of the challenges involved helping readers navigate through a vast Figma frame containing a comprehensive Journey Map.
Another challenge was finding a way to document substantial insights in a single Journey Map without overwhelming the reader.
Additionally, I needed to introduce complex digital concepts to clients and teach them how to interpret these materials effectively.
To address these challenges, I incorporated interactivity into the journey-mapping process. I transformed the traditionally static format of a journey map into a dynamic, multi-layered digital artifact. This change allowed me to assist users in finding the information they were seeking. I could implement progressive disclosure and organize information into additional pages. Furthermore, I could implement interactive product solutions, like guided onboarding and tooltips, that assisted users in exploring a journey map.
Helping users understand complex artifacts
Designing an informative, well-structured, usable, and beautiful artifact is one thing. Teaching clients how to use it is a whole different issue. In my experience, a progressive introduction to the artifact has been the most successful approach. Breaking down a complex journey and introducing it layer by layer in a working session with a client has been well received. As the next step, I would introduce the client to a simplified interactive diagram of a journey map with which they can explore and interact. Only after would I gradually introduce the more intricate, final version.
Above: I used step-by-step diagrams of a complex artifact to explain the artifact to the client in one of my past projects.
Below: An interactive, diagrammatic prototype that allowed us to align internally on a direction and explain the concept to our client.
Next steps & Inspiring others
Recently, I've been engaging in discussions with my colleagues and learning from their experiences as they have used the JM Kit on their projects. I'm currently working on an update that will introduce several new functionalities.
Furthermore, I have conducted internal presentations about the Journey Map Kit and shared my experiences working with highly complex artifacts within our Product and Experience Design departments. I've also had the opportunity to present the tool to the broader Hitachi Design Community to inspire and inform others about its potential.
For the next update to the JM Kit, I plan to introduce tags for cards and provide examples of interactivity in JM design.
Presenting the JM Kit in Hitachi Design Talk
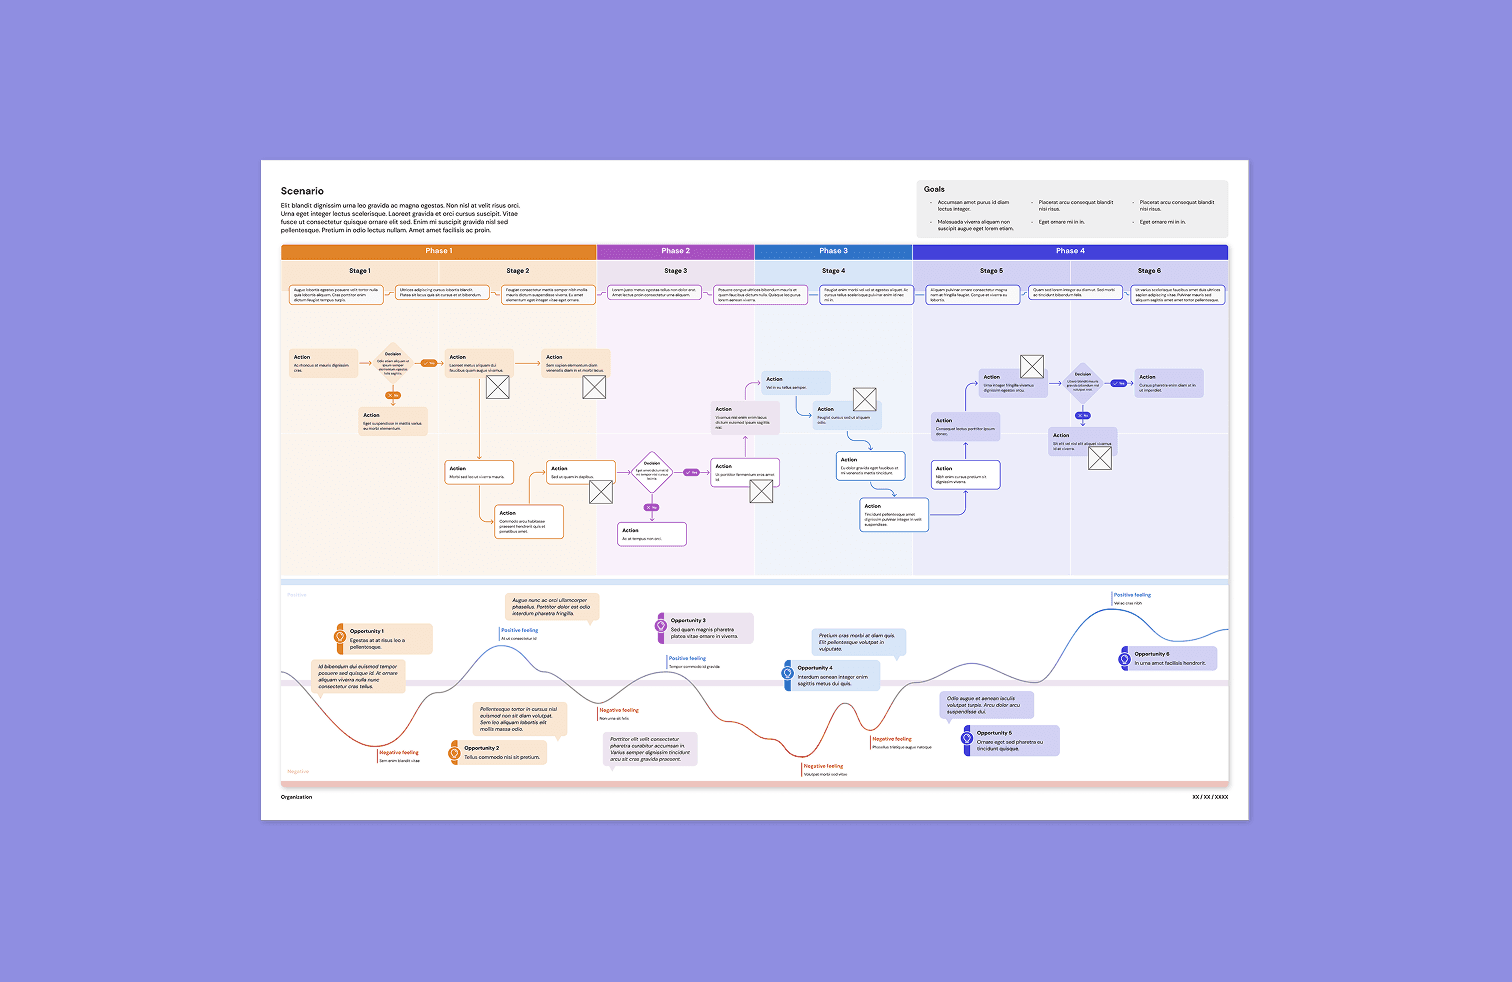
A Journey Map that I built using the JM Kit for one of my projects.
Another client project where JM Kit was used to jumpstart the journey map design process.